Difference between revisions of "Wiring"
(replace 3 images) |
|||
| Line 1: | Line 1: | ||
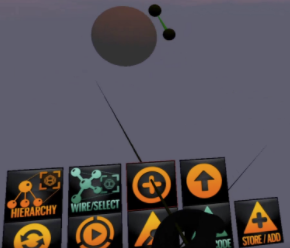
You can go into WIRE mode by choosing the WIRE/CODE menu item | You can go into WIRE mode by choosing the WIRE/CODE menu item | ||
| − | [[File: | + | [[File:Wiring1.png]] |
When you are in wire mode, you see the wiring diagram for anything you click on. The wiring looks like red balls connected by green lines, sort of like a chemistry molecular model. | When you are in wire mode, you see the wiring diagram for anything you click on. The wiring looks like red balls connected by green lines, sort of like a chemistry molecular model. | ||
| Line 7: | Line 7: | ||
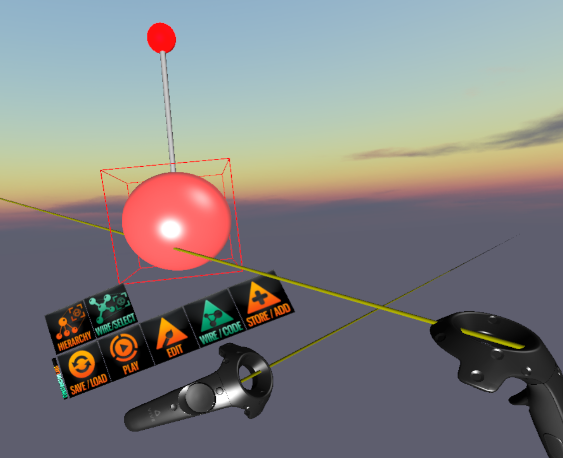
For example, click on a sphere. | For example, click on a sphere. | ||
| − | [[File: | + | [[File:wiring01.png]] |
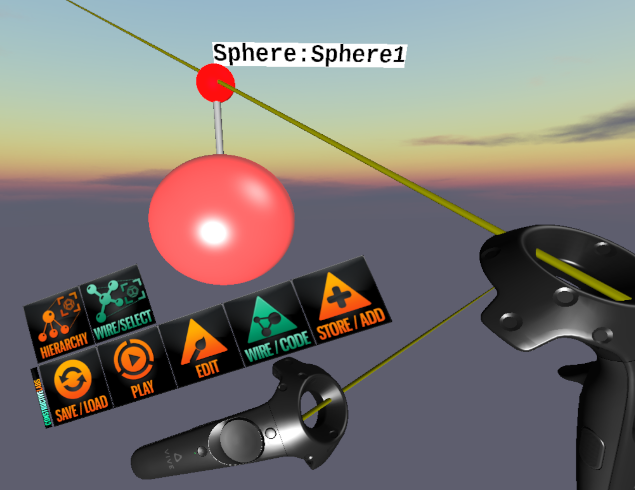
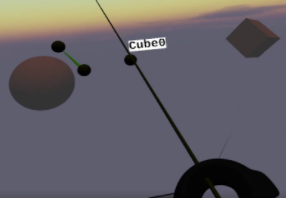
You see a ball and rod appear above the sphere. That is the wiring handle. | You see a ball and rod appear above the sphere. That is the wiring handle. | ||
Hover the ray over the ball to see a label saying what it is. | Hover the ray over the ball to see a label saying what it is. | ||
| − | [[File: | + | [[File:wiring02.png]] |
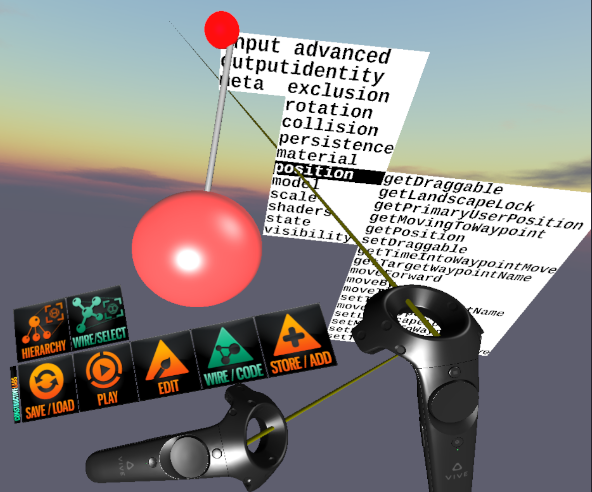
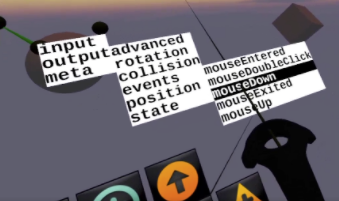
If you ray, click and release with the right controller trigger, that will bring up a menu of items that you can use to wire objects together. | If you ray, click and release with the right controller trigger, that will bring up a menu of items that you can use to wire objects together. | ||
| + | |||
| + | [[File:wiring03.png]] | ||
==Parameters:== | ==Parameters:== | ||
Revision as of 17:42, 30 September 2021
You can go into WIRE mode by choosing the WIRE/CODE menu item
When you are in wire mode, you see the wiring diagram for anything you click on. The wiring looks like red balls connected by green lines, sort of like a chemistry molecular model.
For example, click on a sphere.
You see a ball and rod appear above the sphere. That is the wiring handle. Hover the ray over the ball to see a label saying what it is.
If you ray, click and release with the right controller trigger, that will bring up a menu of items that you can use to wire objects together.
Parameters:
if a wire has a ball in the middle, it needs parameters. You have to get the value(s) for the required parameters from another object - typically a Variable type of object
For example, click on another another object such as the cube and a new ball appears for that object
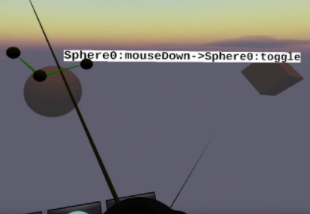
Click on the ball and you can access the messages that object can Output (send). In this case: one of the events: mouseDown.
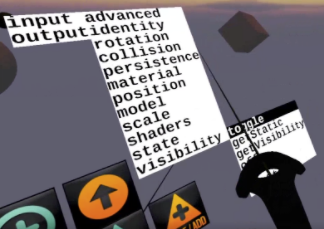
Now we are going to connect that wire to the cube’s input, visibility, toggle. This will make the visibility property of the cube toggle on and off when the sphere is clicked on.
Point at the wire to see what it does:
Rotation Example
these are the 3 wirable inputs for rotation
If you wanted to rotate a planet around the sun, you could wire to one of these. You will need some parameter nodes of the appropriate type (Euler, float) to wiring to the parameter (ball on the wire). You wire from the parameter to getValue on the parameter node.
remember this also applies to composites - you can always add stuff to a composite, offset the "satellite" from center and rotate the composite. then both the planet and the satellite rotate.
rotation inputs
menu = "input/rotation"
@ParmTypes(value = { @ParmType(name = "rotation", defaultValue="0,90,0"), @ParmType(name = "time", defaultValue="1000")})
public void rotateBy(Euler rotation, int time) {

menu = "input/rotation"
@ParmTypes(value = { @ParmType(name = "rotation", defaultValue="90"), @ParmType(name = "time", defaultValue="1000")})
public void rotateAroundYAxisBy(float rotation, int time) {

menu="input/rotation"
@ParmTypes(value = { @ParmType(name="rotation", defaultValue="0,0,0")})
public void setRotation(Euler rotation) {
