Difference between revisions of "Adding Sound"
| Line 9: | Line 9: | ||
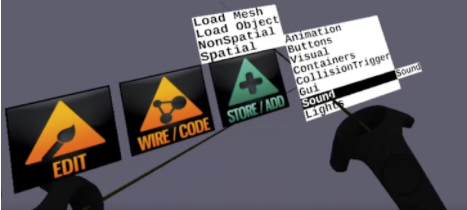
[[File:AddSound.png]] | [[File:AddSound.png]] | ||
| − | Choose the '''STORE/ADD''' menu item and then '''Spatial -> Sound -> | + | Choose the '''STORE/ADD''' menu item and then '''Spatial -> Sound -> Sound2''' |
The sound object appears. It looks like a red ball. | The sound object appears. It looks like a red ball. | ||
Latest revision as of 13:23, 14 July 2022
See Audio Control Panel for how to configure audio devices.
There are two sound-related objects you can add to your zone.
- Sound2 - plays back pre-recorded sound files
- LiveSound - transmits live audio form a user's microphone or other audio source to a server to be shared, also can receive live audio being transmitted by a server
We will add an object that plays an audio file and wire up controls to play and stop the audio.
Choose the STORE/ADD menu item and then Spatial -> Sound -> Sound2 The sound object appears. It looks like a red ball.
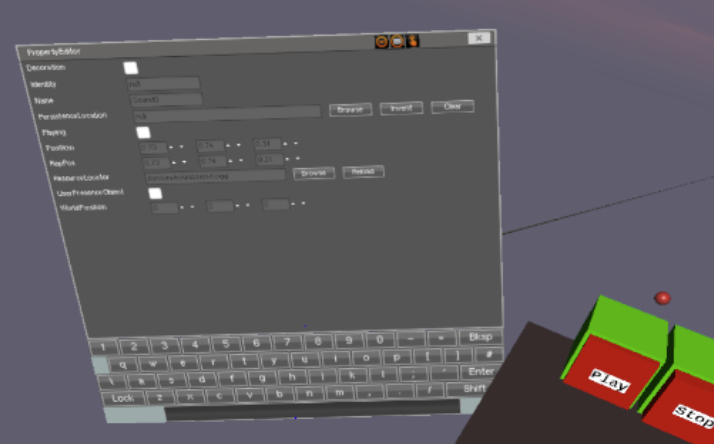
Select it to assign a sound file to it in the Property Editor. (there is already a default sound file provided)
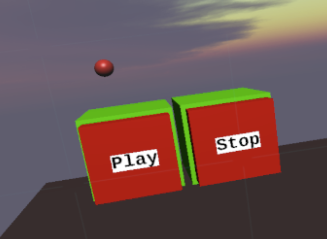
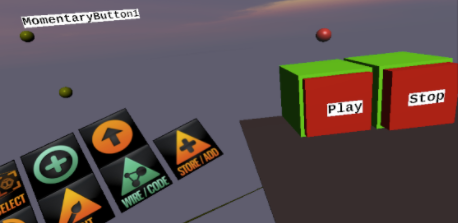
Two momentaryButtons have previously been placed in the scene and labeled Play and Stop. We are going to wire them up to control the sound.
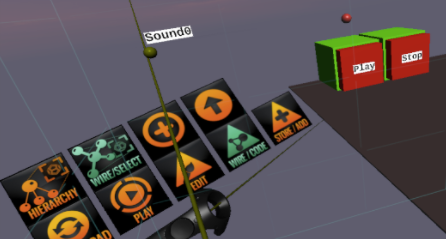
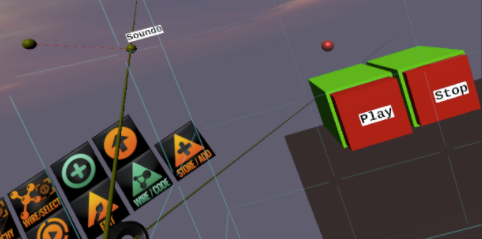
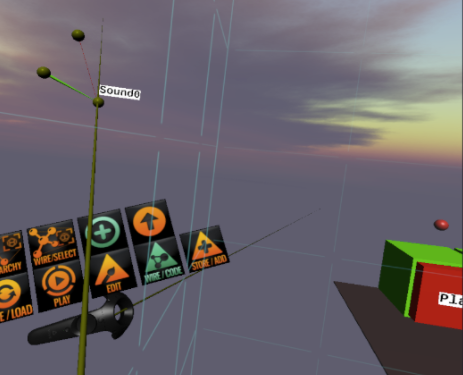
Choose the WIRE/CODE menu item. Choose the WIRE/SELECT item. Click on the red Sound Object and a new dark green ball will appear floating over the menu. If you point at it, a label “Sound0” will appear. This is the wiring ball for the sound object.
Now we are going to connect the play momentaryButton to control the sound. Click the + (in a circle) menu item .Then click on the Play momentaryButton.
A second ball will appear hidden behind the first dark green ball. Grab a ball and move it a little ways away so you can see two dark green balls. Each will have a label you can see if you point at it.
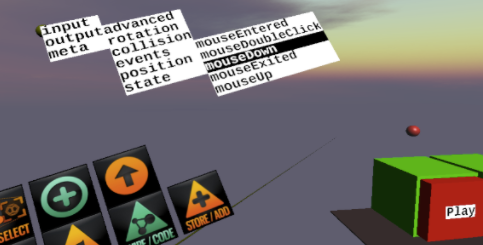
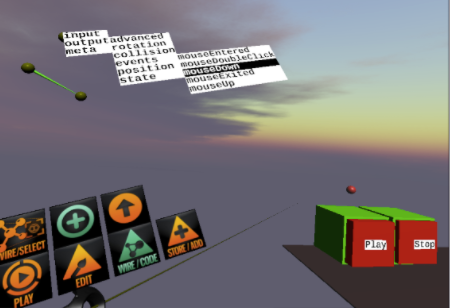
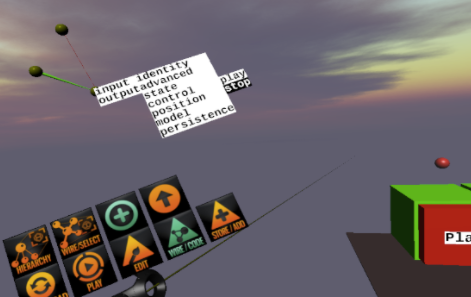
Click on the + menu item again to allow you to choose messages. Point at the ball for the Play momentaryButton and a menu of messages will appear. Choose the output->events-> mouseDown message.
A red line will appear. You connect that red line to the dark green sound ball, by clicking on that ball.
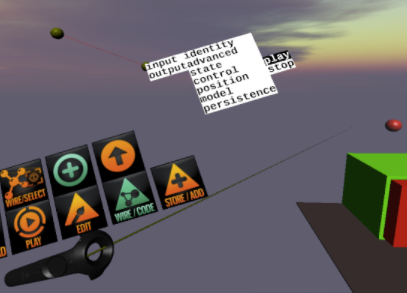
A menu of messages for the sound ball will appear. Choose the input->control->play item
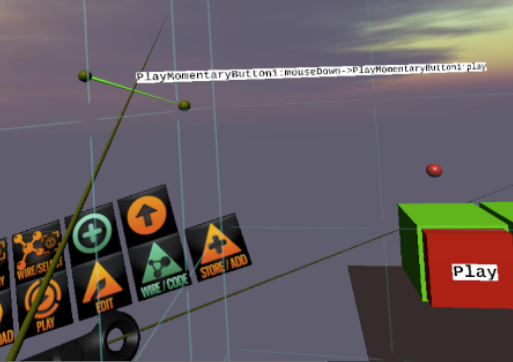
Now a green line shows that the two objects are wired together and when a mouseDown event happens on the playMomentaryButton it sends a message to the sound object to play.
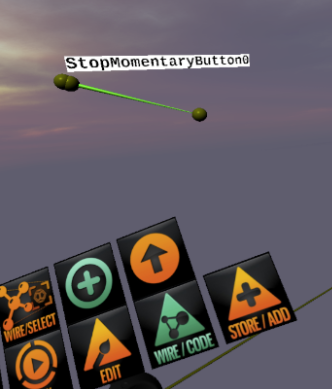
Now click on the + menu item and then click on the Stop momentaryButton. Another dark green ball appears for that object.
Move the new ball a bit away from the others.
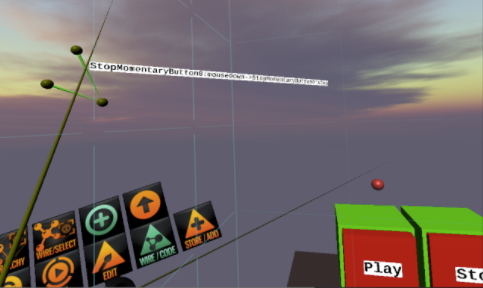
Click on the + menu item again and then click on the ball for the Stop momentaryButton to get the messages menu. Choose output->events->mouseDown
A red line appears. Click on the sound ball.
The message menu appears, Choose input->control->stop.
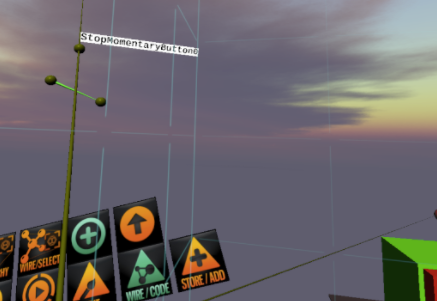
Now the Stop button is wired to tell the sound to stop playing.
The wiring is complete. Click on the PLAY menu item to “go live” and then you can use the Pay and Stop momentaryButtons in the scene to start and stop the audio playback.
Next: Wiring
