Syncing Content
This window enables you to choose which zone to work with and control synchronizing it with the server for backup and sharing.
You choose a zone to work on with the Choose a Zone pulldown list, or the Browse button
Clicking the Launch Zone button will start up the 3D viewing of the selected zone.
To create a new Zone, click the New Zone button.
The 3 radio buttons allow you to choose to have synchronization initiated "automatically", if there are differences between your local files and those on the server. The Asset Synchronizer window will be displayed if there are differences.
The SyncZone button will manually initiate a conversation with the server and display the Asset Synchronizer Window.
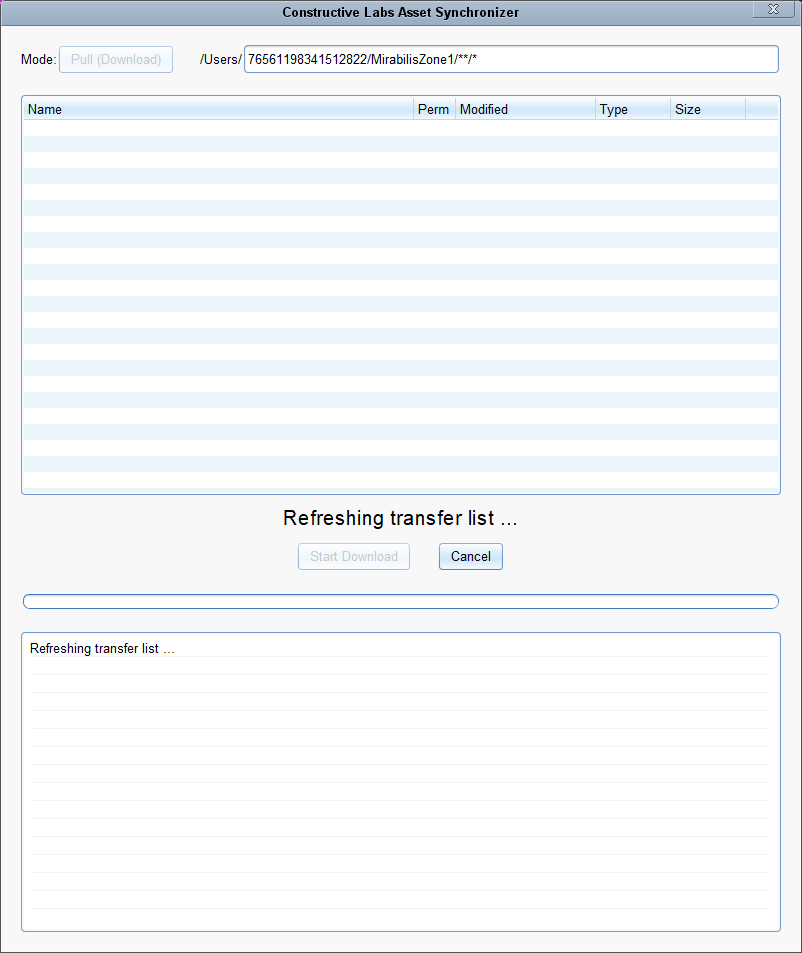
The synchronizer window will get a list of files for the zone from the server. This may take a few seconds.
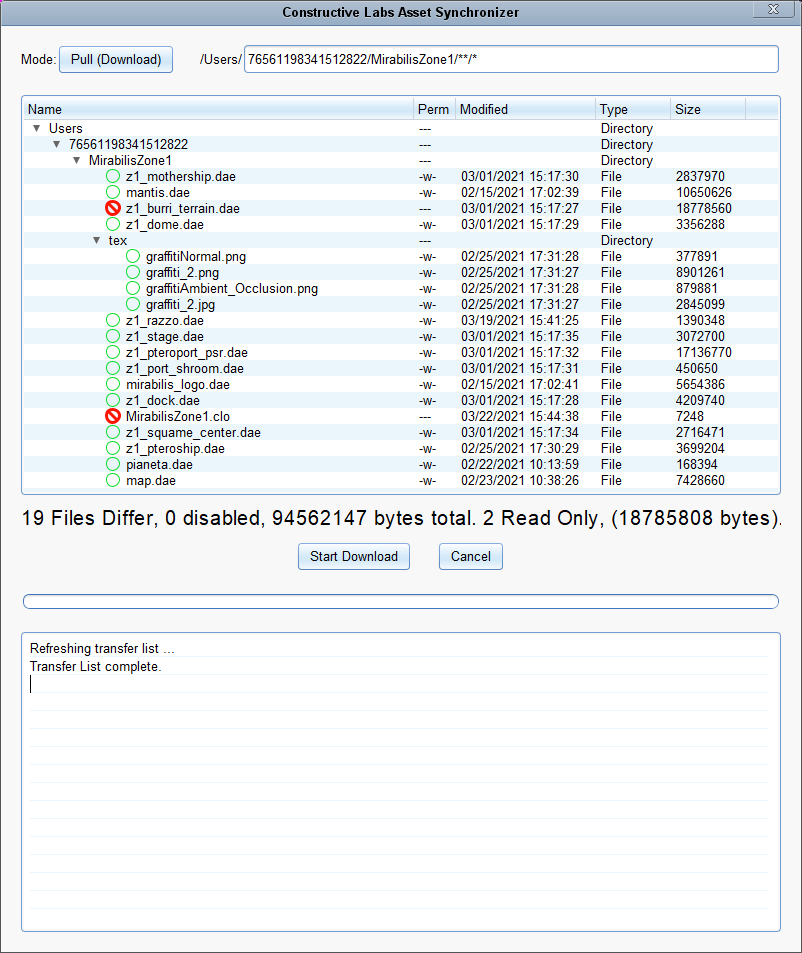
The above window shows files that are different between what's on the server and what's on your local disk.
The green circles are files that will be updated. The red circles mark files that will not be updated. You can click on those circles to toggle from green to red.
You need to decide if you want to download files from the server (Pull) or upload files from your computer to the server (Push).
This window is in Pull Mode, so when you click the Start Download button, files will be downloaded from the server and update what's on your local disk.
You can toggle between Pull and Push mode by clicking the Mode: button.
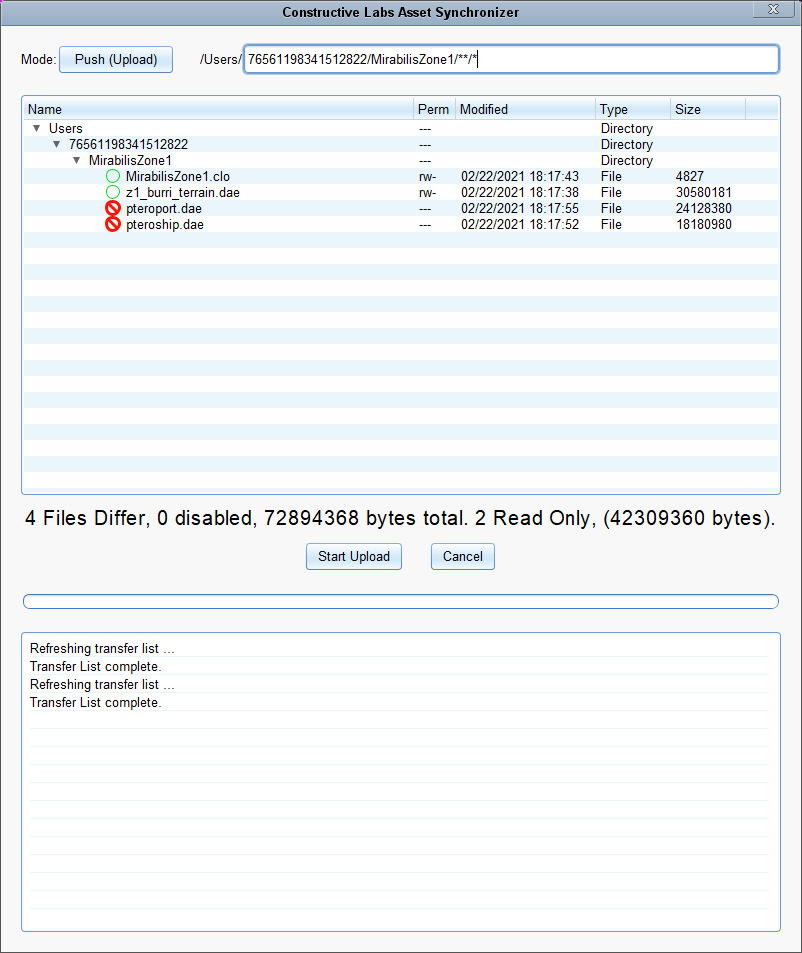
The above window shows files that will be pushed (uploaded) to the server. If you click the Start Upload button, files will be uploaded to the server, overwriting what was there.
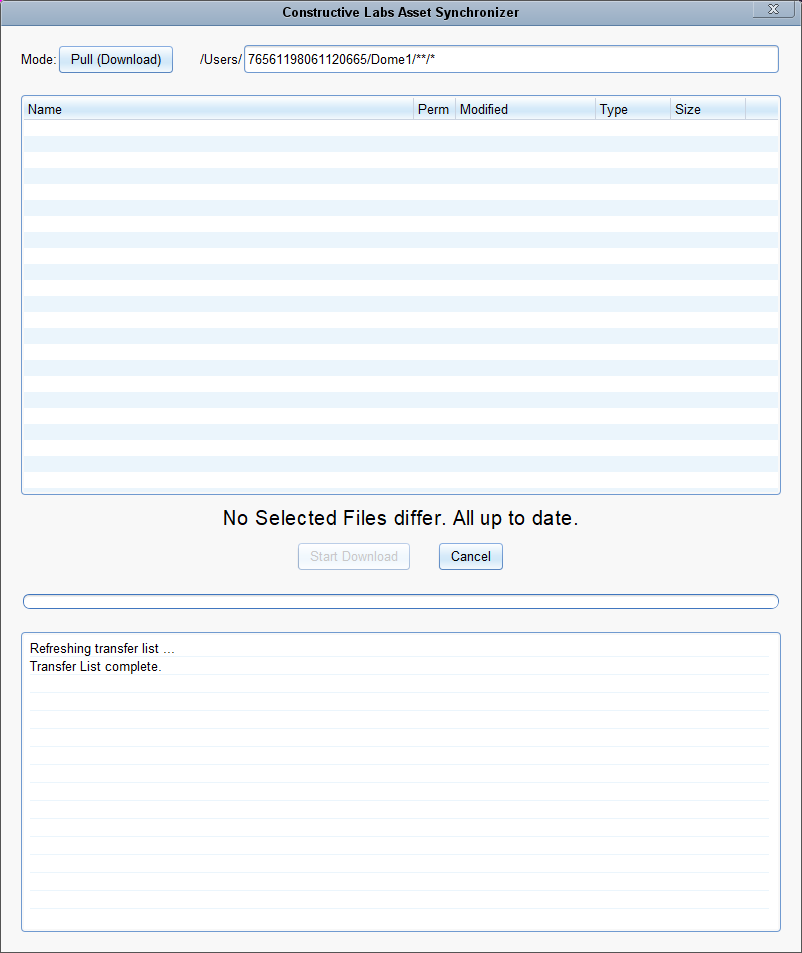
When all the differences have been resolved, you'll see this message.


